Dangun Feveron
Title Screen
| Developer: | Cave |
|---|---|
| Publisher: | Nihon System |
| Producer: | Kenichi Takano |
| Music: | Nanpei Misawa Tatsuhiko Kasuga (FM Arrange) chibi-tech (VIP Arrange) |
| Program: | Crusty Takashi Ichimura Hiroyuki Uchida |
| Art: | Naoki Ogiwara Hiroyuki Tanaka |
| Release date: | September 1998 |
| Previous game: | ESP Ra.De. |
| Next game: | Guwange |
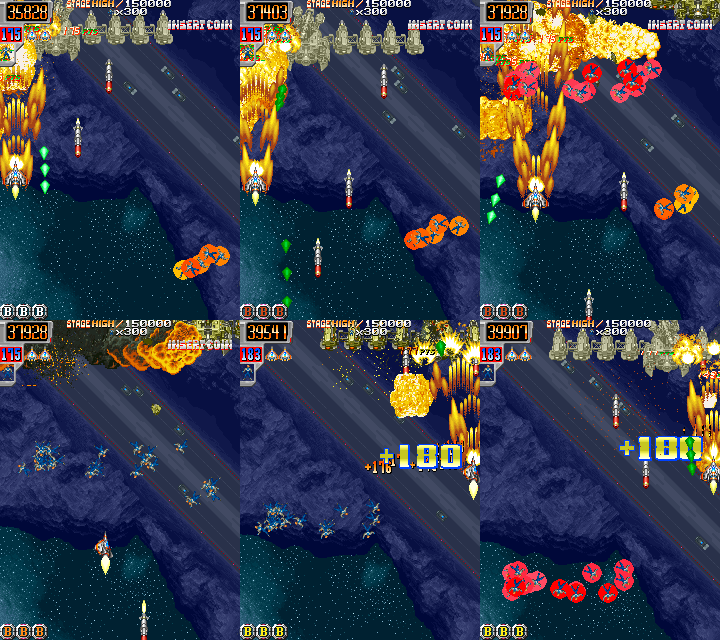
Dangun Feveron (弾銃フィーバロン, Dan jū fībaron; Fever SOS outside of Japan) is a vertically scrolling shoot 'em up, released in 1998 on CAVE 68000 hardware for arcades.
The game was being developed around the same time as ESP Ra.De., however Tsuneki Ikeda wasn't involved in its development as much, instead leaving the programming to "Crusty", Takashi Ichimura and Hiroyuki Uchida. The game went through several revisions, starting out as a mecha STG, but due to poor reception from location tests, the team decided on a disco theme.
The game is drastically different from other CAVE titles. Instead of slow and dense bullet patterns, the game is much faster with fewer bullets, feeling more like a Toaplan game.
The game received a home port for PlayStation 4 and XBox One in 2018, as part of M2's M2 ShotTriggers series for its 20th Anniversary. It includes the original arcade version of the game, a "FEVER" arrange, various practice modes, and two new arrange soundtracks: FM Arrange in vein of old Toaplan games by Tatsuhiko Kasuga and VIP Arrange by chibi-tech.
Contents
Story
Earth Invasion Ultimate Commander, Admiral Gratze, embarked on a mission to conquer the third planet from the sun, setting his sights on Planet FEVER. Planet FEVER was surrounded by mysterious electromagnetic waves, which are known to cause all equipment to go haywire, but Gratze thought it was a mere superstition. When it reached his private room and cut his call with his wife, Aileen, he swore destruction upon the residents of Planet Fever.
Planet FEVER Defense Force Esper Pilots Afro & McCoy, alongside Space Travelling FEVER Girl Stephanie team up to put a stop to the delusional madman.
Controls
- A (Tap): Shot
- A (Hold): Powerful Shot. All power shots take roughly 1/4th of a second to activate.
- B: Bomber
- C (Dipswitch): Rapid Shot
Characters / Ships
TODO: Make this whole section look like less of a mess
Each ship has a different Side Shot configuration and a different Bomber.

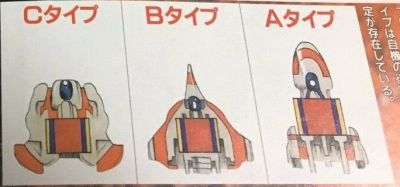
Afro (on the left) and McCoy (on the right) are the ace pilots of Planet FEVER's Defense Force. Afro's Type-A ship is a central shot. McCoy's Type-B ship is a 3-way shot with the side shots at a 15 degree angle.

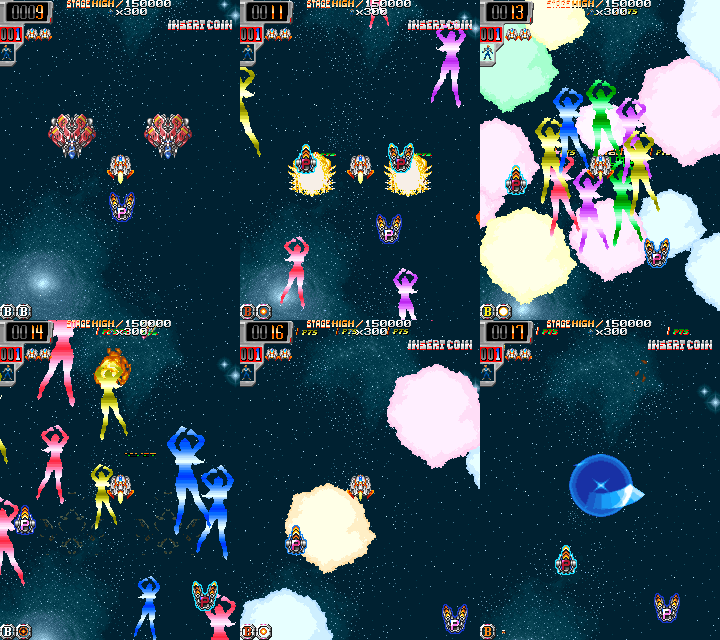
Type A's extremely narrow overlapping shots allow it to do more damage from the bottom of the screen than the other types, which is at least theoretically helpful during boss phases that cannot be safely pointblanked. Unfortunately, the nature of the build-a-ship system strips it of other advantages. At nearer distances or versus giant targets, its shot power is no more effective than Type B, and it is totally reliant on its subweapon for horizontal range. Its nuke-style Bomber has a tendency to not hit anything if used as a panic button. There's really no practical reason to use this ship beyond seeking a challenge.

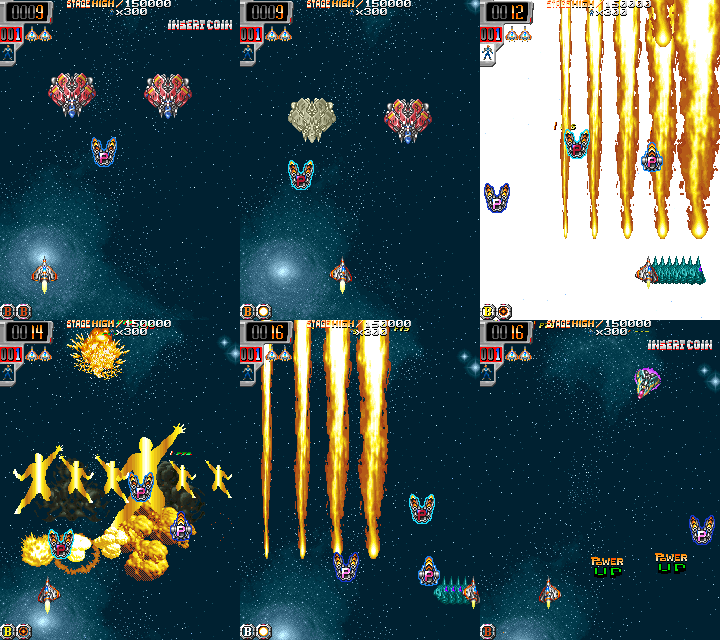
Type B's spread gives it the best consistency with frontal waves, and it's also capable of dealing full damage from a comfortably moderate distance, making it the easiest type to use. Its Bomber is the most damaging of the three and is directed, allowing it to be aimed away from enemies if desired.

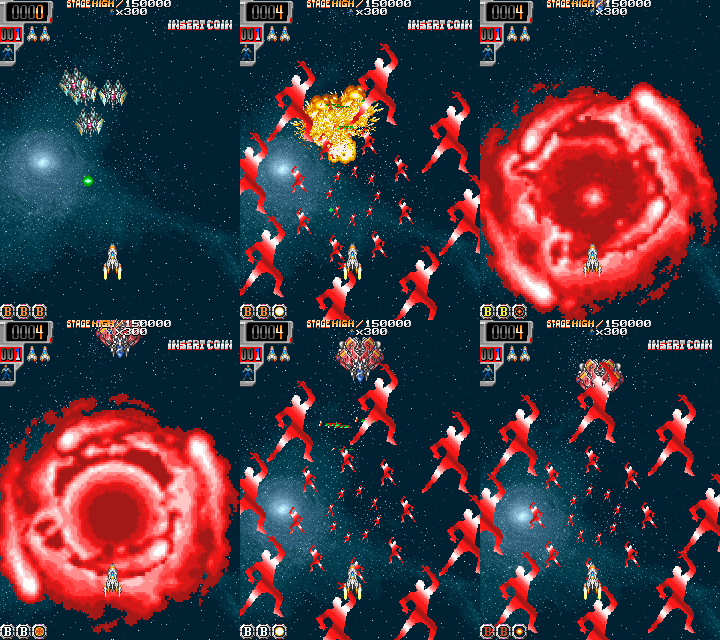
Stephanie is the leader of the "Fever Girls" Dance Troupe. Her Type-C ship is a wide shot, with the side shots at a 45 degree angle.

Type C's advantage is being able to hit both side edges of the screen at once, or to hit the entire width of the screen at the top, both of which are very effective in some areas. Its performance against hard targets at a distance is pathetic, and it usually needs to get very close to hit with all of its streams. There are vulnerable blind spots between the main and side shots. Its Bomber does the least damage, but hits everything indiscriminately.
Power Shots
Unlike most CAVE games, where the ships have two weapons at all times (most of the time shot+laser), in Dangun Feveron, you get to choose your second shot to use for the entire game.
Lock-On: Fires a stream of fast saws which bends with the player's movement. On contact with an enemy, the stream will "stick" and automatically aim at it.
Comparable to the iconic purple weapon of the Raiden series, though lacking any penetrative ability. Lock-On does more damage than a single shotstream at a long distance, but less than combined shots or point-blanking. It is also difficult to aim and disrupted by zako, making it the weakest subweapon in the majority of situations.
Bomb: Deploys missiles that slowly drift forwards. Up to three can be active simultaneously. Each missile grows in power the longer it is active. On impact, creates a large explosion; enemies killed by the explosion will create more explosions, potentially causing a chain reaction.
Bomb is entirely routing-oriented, capable of achieving the highest scores via both the highest damage and the best screen coverage of any subweapon, but is worthless when used haphazardly. Bomb is typically avoided with Type C as the combination has no tools versus bosses, and is often paired with Type A for the opposite reason.
Roll: Charge shot. Deploys up to 8 blue orbs that "unwind" into a clockwise orbit. Upon release, the orbs fly straight forward and penetrate all enemies, damaging for each frame in contact.
Roll is a flexible subweapon, capable of dealing a consistently large amount of damage from the bottom of the screen with minimal preparation. The combination of safety and power makes it by far the most effective anti-boss weapon. Due to how the orbs deploy, both short and long Roll charges are weak against single targets. Half-charging is the most useful technique, releasing multiple overlapping orbs in a small area.
Speed

Unlike other CAVE games, the ships do not have their own speed, nor do they have a slow movement when using the secondary shot. Instead, you choose what speed your ship will be at for the entire game.
Player speeds below 3 are not considered viable for scoring as they will be unable to catch enemies quickly enough or to chase items.
Hitbox
Red: Speed 1; Purple: Speed 2; Yellow: Speed 3 & 4
Outaro
Outaro is a hidden guest character from CAVE's puzzle game Puzzle Uo Poko. It can be selected by entering the code down up right left up down left right after inserting a credit.
- Has no Bomber, Powerful Shot or Speed selection.
- Can switch between the three shot configurations with the B button.
- Has double the shot power of a normal ship.
- Moves twice as fast as a Speed 4 ship.
- Unaffected by powerups; all Shot and Bomb items are converted to score. For rank considerations, Outaro is always at power level 0, resulting in drastically slower enemy bullets.
Outaro's combination of flexibility, extreme speed and low rank allow it to be basically wherever it wants at any time, obliterating everything in its path while minimizing the logistics of collecting Cyborgs. However, that same speed can lead to instant death, and there's no option to crutch-Bomber past the few sections which can stand up to Outaro's firepower. While typically the highest scoring ship within stages, Outaro's lack of Bomber lowers its final clear bonus and locks it out from certain tricks.
Items
Gameplay
Concept
Dangun Feveron is a Caravan principle game: All stages are a fixed length, but destroying targets quickly will cause more to appear. Each stage is divided into one or more "tables" of enemy waves that switch at fixed points. Completely clearing an enemy table before it switches out will cause it to loop and start over, providing a constant supply of targets.
Although the concept is simple, the details are more complicated. The game does not check for cleared waves continuously; it uses discrete intervals which vary by the waves in question. In some cases missing one enemy will cause a delay, while in others only specific enemies need to be destroyed to advance.
No-missing the entire game will cause a TLB to appear after the stage 5 boss. Infamously, this TLB is bugged on the Japanese version of the game, and is unable to kill the player unless a bomb is used.
Score mechanics
Flying enemies killed quickly will drop Cyborgs, which will drift to the bottom of the screen, then bounce to the top and disappear. Each Cyborg collected increments the chain by 1, then gives points equal to the chain counter. Letting any single Cyborg escape will reset the chain counter to 1. The point value of all destroyed targets is also equal to the chain count. The chain maxes out at 999 per stage.
The number of Cyborgs dropped by each enemy decays over time at a rate determined by the enemy type, down to 0. Boss parts also decay in Cyborg count, and a timed-out boss will drop nothing.
Cyborgs dropped by killed enemies appear in random positions inside the enemy's collision hitbox. Cyborgs drift in a fixed pattern, changing direction every second, but their initial timing and direction is random. Cyborgs near the edges of the screen will be forced away from the edge.
Up to 50 Cyborgs can be on screen at once. Additional Cyborgs past this limit simply don't appear. Cyborgs are emptied from memory when the floating text attached to them goes away, not immediately after picking them up, which can lead to some deceptive timings.
After defeating a boss, the player is given a boss bonus of
- current chain * stage Cyborg total
up to 9992 or 998,001. Timed-out bosses do not award a bonus.
Upon clearing the game, the player is awarded 500,000 points per spare life and 100,000 points per spare bomb. If the player defeats the TLB, they are instead awarded 1,000,000 points per life and 200,000 points per bomb.
Bomber
All Bombers have the same duration, approximately 2 seconds. While the Bomber is active:
- There is a damaging effect, which varies by ship type. Type B has a slight delay before its first lightning strike lands.
- The player is immediately and completely invincible.
- The player's speed is increased to beyond Speed 4.
- The player can use weapons as normal.
- All Cyborgs on screen freeze.
- New Cyborgs cannot appear.
After the Bomber ends, the player is shielded and invincible for a further 1 second. Movement and Cyborgs behave normally during this invincibility.
Since the score bonus for collecting excess Bomb items is low, and the reward for a no-miss is very high, players are encouraged to use them liberally. Bombers can also be used to freeze escaping Cyborgs, to speedkill item carrier waves, to skip troublesome but low-scoring enemies, and can be deployed in advance to abuse the ending invincibility which does not interfere with scoring.
| Stage | Number of bomb items |
|---|---|
| Stage 1 | 0 |
| Stage 2 | 1 |
| Stage 3 | 2 |
| Stage 4 | 2 |
| Stage 5 | 4 |
Strategy & techniques
The game's announcer explains its scoring principles rather well.
- Don't Lose It (Aim for 999 Disco People)
Maintaining a 999 chain until the end of the stage will result in a huge boss bonus of 998,001 points. For all score-viable shots, this is possible in every stage past stage 1, contributing just under 4 million by itself.
- Watch Out!!!
Defeating the TLB will award a second boss bonus (potentially 998,001) and will double the clear bonuses from spare lives and bombs. Due to the TLB mandating a no-miss, and the TLB invincibility bug in the JP version of the game, reaching the TLB should guarantee at minimum another 3 million from spare lives.
- Hurry Up!
Once a 999 chain has been reached, scoring stops scaling multiplicatively. Making significant score gains becomes dependent on dense "cash-out" waves that offer sheer volume of Cyborgs and/or enemies to kill. Advance the waves as efficiently as possible to loop these high scoring areas.
Pointblanking
The most efficient way to damage a single target is by using full-auto shot at close range. Successful pointblanking causes a large pink hitspark to appear. Due to the size of the player's projectiles, it's not necessary to be extremely close to do full damage. Type C will need to get closer than the others due to the width of its side shots.
Shooting offscreen enemies
Enemies off the left or right screen edges can be shot before they appear. Cyborgs dropped by such enemies will appear normally. Type A's shot lacks the horizontal range to make use of this, which can be mitigated by picking A-Bomb.
Rank
Rank varies through decimal values 0-63. It affects enemy bullet speed, and in fewer cases firing rate. Rank is primarily determined by stage and powerup status with survival time as a secondary factor. Due to its lack of powerups, Uotaro experiences significantly lower rank throughout the game compared to the normal ships. Strategic rank management is nonexistent, and during the final two stages rank reduction is minimal.
An incomplete explanation is below for the curious. [needs more research]
Each stage has a baseline rank value. These baselines are affected by the difficulty dipswitch in the service menu.
| Stage 1 | 13 |
| Stage 2 | 23 |
| Stage 3 | 23 |
| Stage 4 | 43 |
| Stage 5 | 53 |
| Time Attack | 25 |
At the start of each stage, the rank increases by the difference between the current and new baseline. For example, going from stage 1 to stage 2 will increase rank by 10.
Rank increases gradually over time, and quickly by powering up. Chaining or collecting excess powerups does not influence it.
| 1st, 2nd powerups | 0 |
| 3rd, 4th, 5th powerups | +4 each |
| 6th powerup | +2 |
| Bomb in stock | +1 each |
| Extra life in stock | +1 each after all other factors (i.e. affects minimum rank) |
On death, rank is set to the stage baseline. After respawn, it increases by 3 for the player's refilled bombs, then 1 is subtracted for the lost life.
Rank is truncated to 63 at the end of the calculation. This has a marginal effect on stages 4 and 5, where bombing at maximum rank may not reduce it, because the true rank is above 63.
The final rank can be watched at RAM address 0x1052C9.
Specific strategy
Stage 3: Rail turrets
The third section of stage 3 is introduced by a bridge zone with a column of respawning rail turrets on each side. Wedging the ship against the left or right edge while pointblanking the turrets will lead to them being continually killed and replaced every few frames, doling out a massive amount of points. Additionally, positioning the ship in a specific way can cause the game to continue replacing the turrets after the point it would normally stop.
Performing this trick will overload the sprite limit, making survival unrealistic without the use of two or three Bombers. Outaro, which lacks a Bomber, is unable to fully take advantage of it.
| Ship type | Typical kills with shot + 3 Bombers |
| Type A | ~510 |
| Type B | ~420 |
| Type C | ~515 |
TODO:
- Stage 1: Wave shortcuts
- Stage 2: Midboss
- Stage 3: Wave despawn
- Stage 3: Type 2 despawn
- Stage 3: 3-Boss strategy
- Stage 4: Delayed table 2 spawn
- Stage 4: Table 2 -> 3 strategies
- Stage 5: Station 1?
- Stage 5: 5-Boss strategy, missile barrage
- Stage 5: TLB patterns?
Video Reference
See the Video Index.
Misc / Curio
Stage 3 boss glitch
During the first phase of the stage 3 boss, destroying either of its two side nodes will push it in the opposite direction. Destroying the left node first, then the right node while the boss is positioned to the extreme left can push it off the edge of the screen. This causes a coordinate overflow error, resulting in the boss believing it's actually on the far right. It then tries to correct its position back to the middle by continuing to travel left, further and further off the screen until it wraps around and reappears on the right side. Video of this glitch
