Difference between revisions of "(OutZone)/Strategy"
| Line 53: | Line 53: | ||
---- | ---- | ||
== Enemy Overview == | == Enemy Overview == | ||
| − | |||
{| class="wikitable" | {| class="wikitable" | ||
Revision as of 00:11, 31 December 2020
See (Template Page)/Strategy (Scoring) for routing and techniques that are primarily focused on achieving high scores.
See (Template Page)/Strategy (Survival) for optimized safe routes, speed-kill strategies, and helpful information that prioritizes clearing the game over scoring high.
These two sections above only need to be included if the game in question has vastly different routes between playing for score and playing for survival. If there is not a major difference in routing, then scoring and survival strategies will just be included in the stage/checkpoint that it refers to.
Contents
Weapon Tier List
This section is used to list out all strengths and weaknesses with the weapons in the game, and to sort of evaluate their general strength and usefulness.
(X) Tier: Fixed 3 Way Shot
- ( ~ ) Shoots a 3 way shot directly in front of your player.
- ( + ) High damage with autofire, good range at full power, good for recovery. Great for all boss battles.
- ( - ) Cannot aim at enemies behind you or hiding behind certain wall angles. Poor refire if not using autofire.
(X) Tier: Free Range Weapon
- ( ~ ) Shoots small pink lasers in the direction of your player.
- ( + ) Can be aimed in 8 directions, generally high damage once it is fully powered up.
- ( - ) Not the most useful when surrounded by enemies and for boss battles.
(X) Tier: Super Ball
- ( ~ ) A ball that constantly spins around your player appears and will cause contact damage to any enemies it hits. The ball can be released directly in front of you by a button press and will shortly return to spinning around you.
- ( + ) Extremely high damage, useful for damaging enemies from a distance and for sections with a lot of walls.
- ( - ) The brief pause when releasing a ball in front of you can leave you open to enemy fire, limited range.
(X) Tier: Super Burner
- ( ~ ) Shoots out a flamethrower that will extend in front of the player, and can change its trajectory based on the player's change in direction.
- ( + ) It can be aimed in 8 directions.
- ( - ) Hardest weapon to control, can be easily overwhelmed when surrounded by enemies.
Basic Strategy
- The game gives you a lot of bombs ( you can stock up to 10). Make sure to use them if you feel like you're becoming trapped, and on difficult larger enemies and bosses. Using bombs is also useful for quickly gaining some distance if you notice that your energy meter is running low.
- Make sure to destroy all pink boxes and pick up energy items. Grabbing the Blue SP (Speed Up) and Green SP (Energy Extend) items will also make a big difference in surviving from stage 3 onwards ( even if they are random item drops).
- In the maze like sections of stage 3 & 6 use the walls & free range weapon to your advantage to pick off the soldiers hiding by the walls & popping out of the generators. If you get trapped or fail to destroy them before they start firing on your position bomb. These will be explained in more detail in the stage breakdowns below
- Try not to die before stage 5. If you can make it that far, you'll be able to gain most of your bombs back & additional points even with freely bombing.
- On the final boss, point-blanking the boss while having 4-5 bombs is usually enough to take him down.
Advanced Strategy
- If you're interested in scoring, then it is imperative to activate the zero wing bonus as early as possible. Since it needs 8 c items to be activated, you can achieve this before it appears in stage 2 by any combination of c items in stages 1 & 2=8. If you want to keep your fixed way shot while maintaining the bonus, you can pick up a special weapon and then a C item, since it reverts you back to the normal weapon you had before picking up the special weapon.
- Similar to other toaplan games of this era, subsequent loops will have enemies fire faster bullets & have less reload time based on survival rank. Bosses will also have slightly higher HP. In this game, the difficulty maxes out in loop 3.
Enemy Overview
Individual Stage Breakdown
Stage 1:
Stage 2:
Stage 3:
Stage 4:
Stage 5:
Stage 6:
Stage 7:
References & Contributors
- Primary info provided by ggmaximo
[1]https://vgmaps.com/Atlas/Arcade/index.htm#O
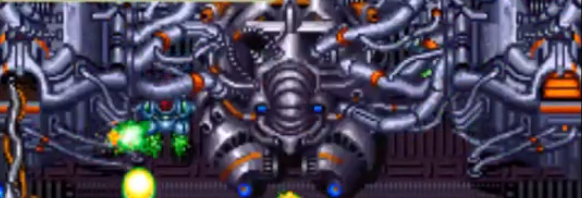
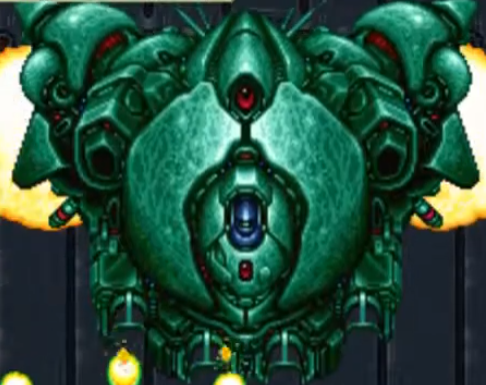
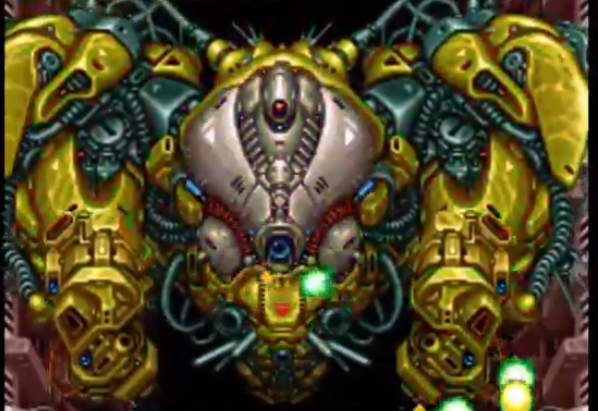
| Enemy | Name | Value | Contains Item | HP | Notes | ||
|---|---|---|---|---|---|---|---|

|
1-Boss | 5000 x4 | No | ??? | |||

|
2-Boss | 20,000, 1,000 x2 | No | ??? | |||

|
3-Boss | 30,000 | No | ??? | |||

|
4-Boss | 40,000 | No | ??? | |||

|
5-Boss | 35,000 | No | ??? | |||

|
6-Boss | 40,000 | No | ??? | |||

|
7-Boss | 50,000 | No | ??? | |||